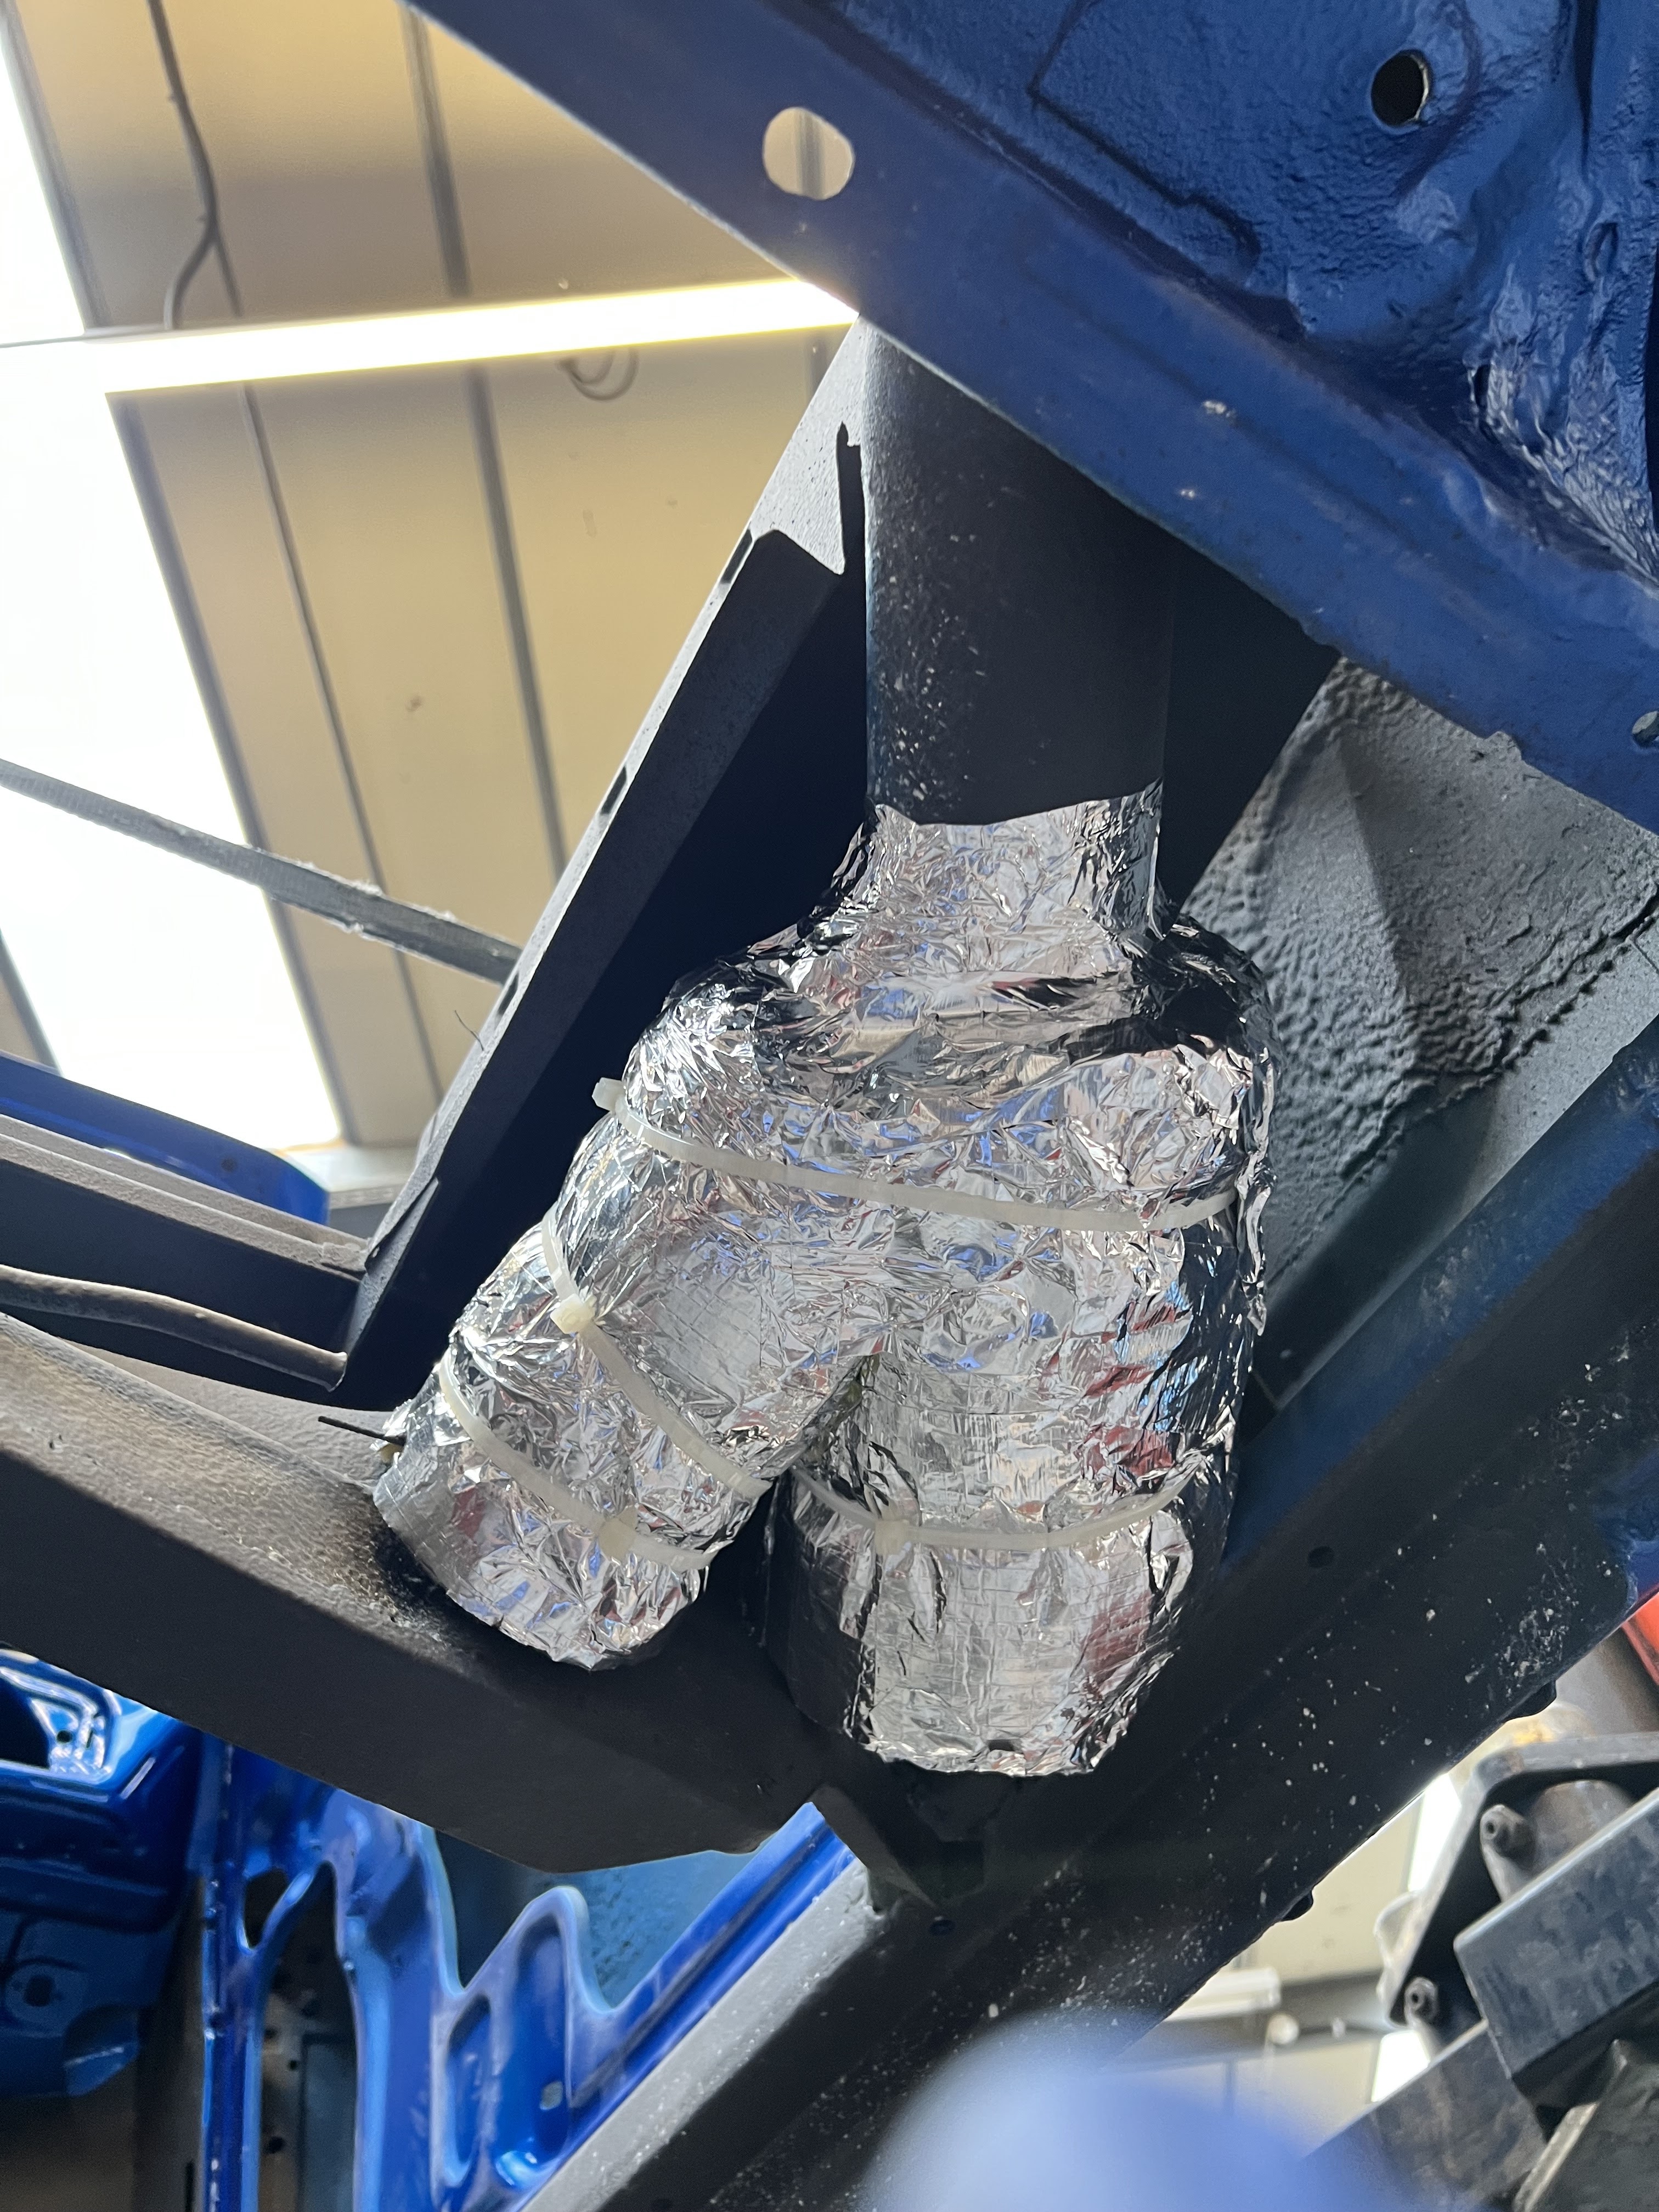
So with the body back in my workshop and at last with it's paint in place, it's time to start the slow rebuild. Well there were a couple of jobs to do before mating the body back with the chassis. The first job was to wrap the heater tubes under the back seat. It is much easier to reach these tubes before the body is mounted on the chassis. These tubes are perforated to act as noise reduction and need to be wrapped with insulating material. I had saved the old wrapping, but now they are nowhere to be found. So I decided to find some suitable pipe lagging material to do the job. Two different diameter of lagging were used combined with adhesive aluminium tape and cable ties. As you can see this was successful.
The next job was to connect the bonnet springs to the hinges, as the painter had removed the bonnet to paint it and then could not get the springs back on. These springs are very strong, and after trying several ways of levering the springs with no success, I finally decided to pass a loop of wire through the speedo hole in the dash board, through the loop in the spring and fit a large wooden handle through the loop in the wire inside the car. I could then pull on the handle and pull the spring back towards the dashboard until it snapped into place.
The next job was easy and that required the fitting of the two heater tube extensions. These tubes just required cleaning up and then mounting through the bulkhead to the, now insulated, heater tubes.
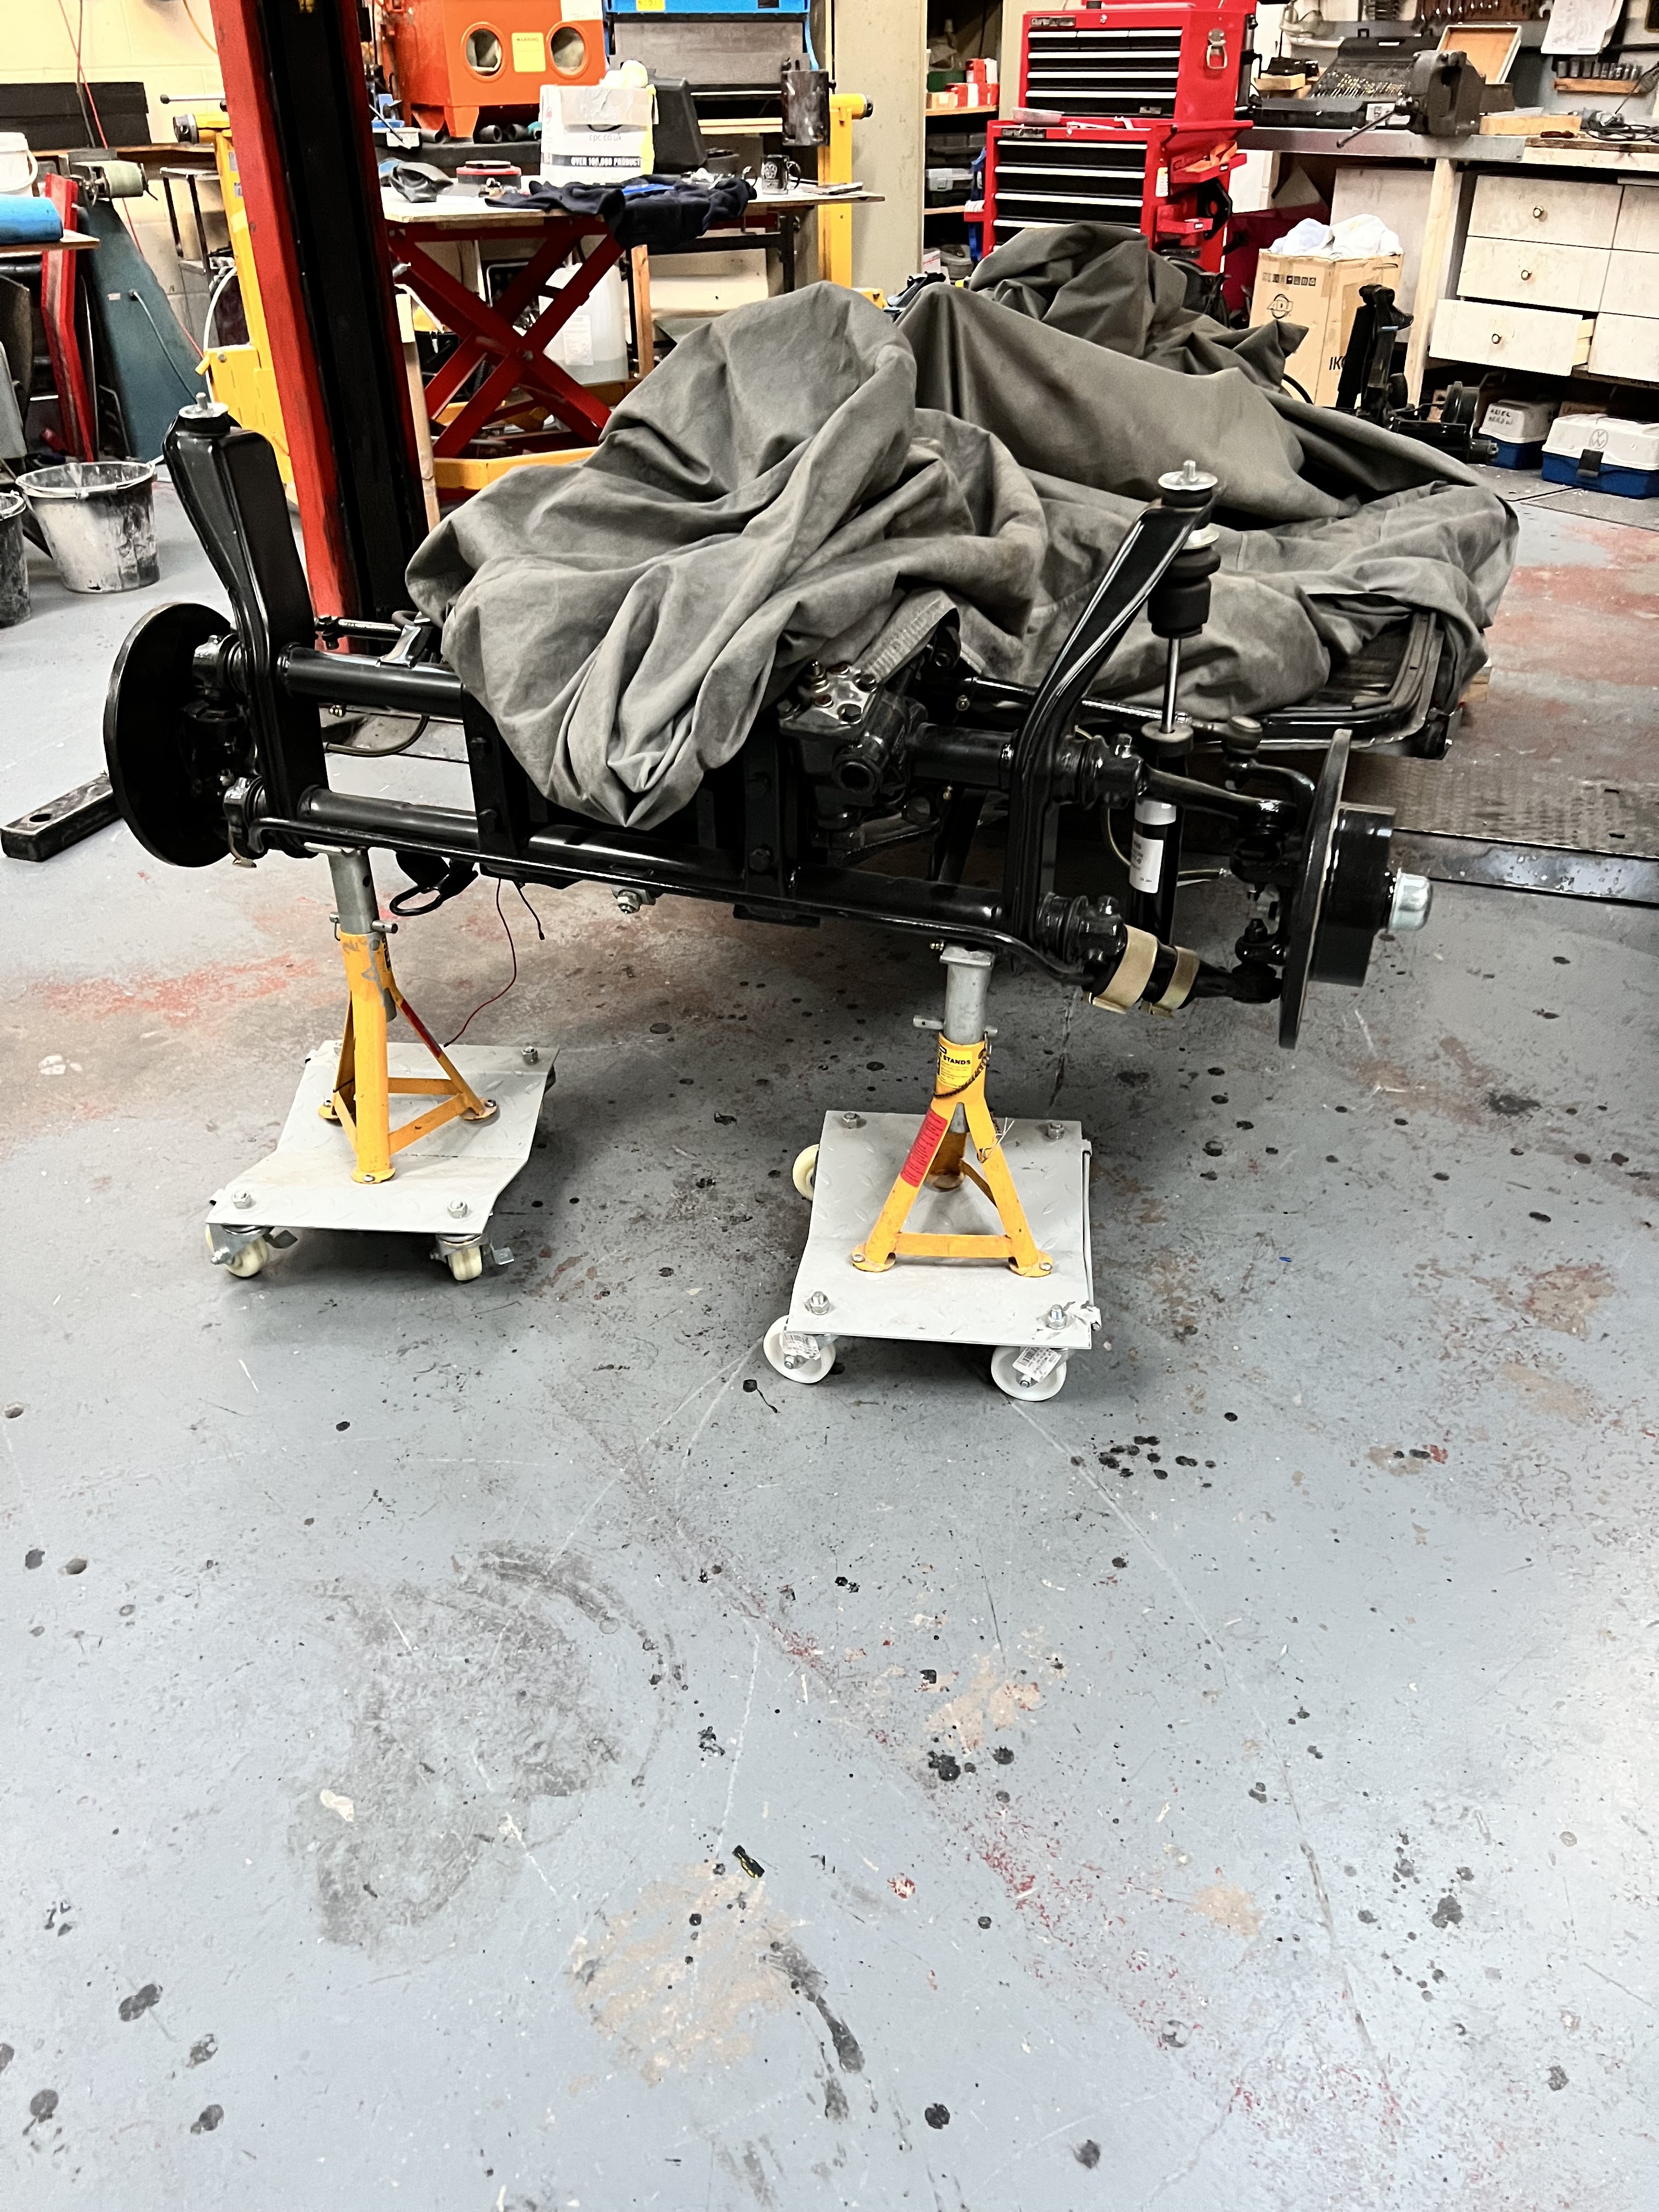
It was now time to prepare the chassis and body to be reunited. I first removed the wheels from the chassis and put the chassis on castors, so that I could position it correctly under the body. I then put a bead of sealant all around the rubber seal on the chassis and then, using two bars under the wheel arches, I slowly lowered the body down on the lift, adjusting the position of the chassis as I went, until the two came together. The next job was to bolt the two together and this required every bolt hole being re-tapped with a 8mm tap. I didn't count them, but I guess there were about 40 of them. I then cleaned all of the clamping plates and used new stainless steel bolts.
The body mated down well onto the chassis and was bolted into place including the extra fixings to the front axel. I noticed that the door gaps had widened and, after investigating, found that the reason was that I had tightened down the rear body fixings into the rear shock absorber cast mounting brackets and that these needed spacers. So I then had to make some thick spacers to fit between the body and the chassis brackets where the body bolts to the top of the rear shock absorber brackets and the door gaps closed to the correct spacing again.
I could now fit the wheels and the car is now sitting on it's own wheels for the first time in years. You will notice that I have fitted the old wheels while I work on it, keeping the new ones safe and clean until they are needed.; It's time to fit the new glove box and the bonnet release cable. This is a relatively easy job, with just a central strap pulling the glove box into place. The pull cable could then be ran to the front of the car and connected to the bonnet catch. So I can now lock and open the bonnet by pulling the lever in the glove box. Two more jobs, the hinges could be re-fitted, along with the glovebox lid and a new knob and catch.. It's great to be putting things back on at last! The next job that I decided to do was to fit the nostril air intake grills at the front of the car. This involved finding the plastic baskets, that fit behind them. After cleaning and painting the baskets they fitted easily with self tapping screws. I then polished the grills and fitted new rubber seals around them and offered them into the holes. I then discovered that the fixing tags on the grills were broken and could not be used to fix the grills into place. So I had to carefully drill the sides of the grills and fix them by screwing self tapping screws through the sides and directly into the bodywork. However the result was excellent, you can't see the fixing screws and the grills fit perfectly.
The next job was one that I had not been looking forward to. Fitting the engine compartment engine sealing rubbers. It would have been great to simply slide the rubbers into their grooves, but nothing is that easy. Even with lots of lubrication the rubbers simply would not slide. So In the end it was the very slow process of levering the rubber into it's groove with a screwdriver centimetre by centimetre. Total time three and a half hours! but they are in and no damage.
I now decided to fit the petrol filler flap release mechanism. I had bought the new complete cable and catch from VW Heritage two year earlier, when the old one had disintegrated during it's removal. Well now was the time to fit it. So I fitted it and pulled the handle to release the flap and it broke! I spoke to VW Heritage and they said, despite the item being new, I had bought it too long ago for it to be under warranty and that I would have to buy another one. I was determined not to buy another one and so set about making replacement parts on my lathe, which took most of the day, but eventually I managed to repair it. Here you can see the cable fitted under the wing and the petrol filler flap now flips up at the pull of the handle under the dash board.
Lot's more to come, as the car slowly comes together.