
Well wiring the headlight's was straight forward. I managed to renovate the original rubber tubes from the headlight bowls to the body and thread through the new wiring loom. Wiring them back to the fuse box and the switch wasn't too difficult but the headlight relay would flash the lights but not dip them. So in the end I had to buy a new relay.

Now I had decided not to mount the Battery in the engine compartment. Instead I wanted to fit it under the back seat (Like in a Beetle). However the space under the back seat of a Karmann Ghia is not as deep as a Beetle and so I had to search for a suitable battery to fit the available space. Eventually I found that the battery for a Mercedes SL fit the space perfectly and here it is mounted in place.


Now it's time to mount the washer bottle and true to form the old one leaked. So I had to buy a replacement and then drill it, through where the original pressure valve fitted, to allow the water pipe to enter it. It could then be piped to the pump and up to the new jet at the windscreen. Time for a test. I connected the battery and pushed the button. The pump whirled and water shot out of the jets, straight into my face, as I still haven't fitted the windscreen!!!


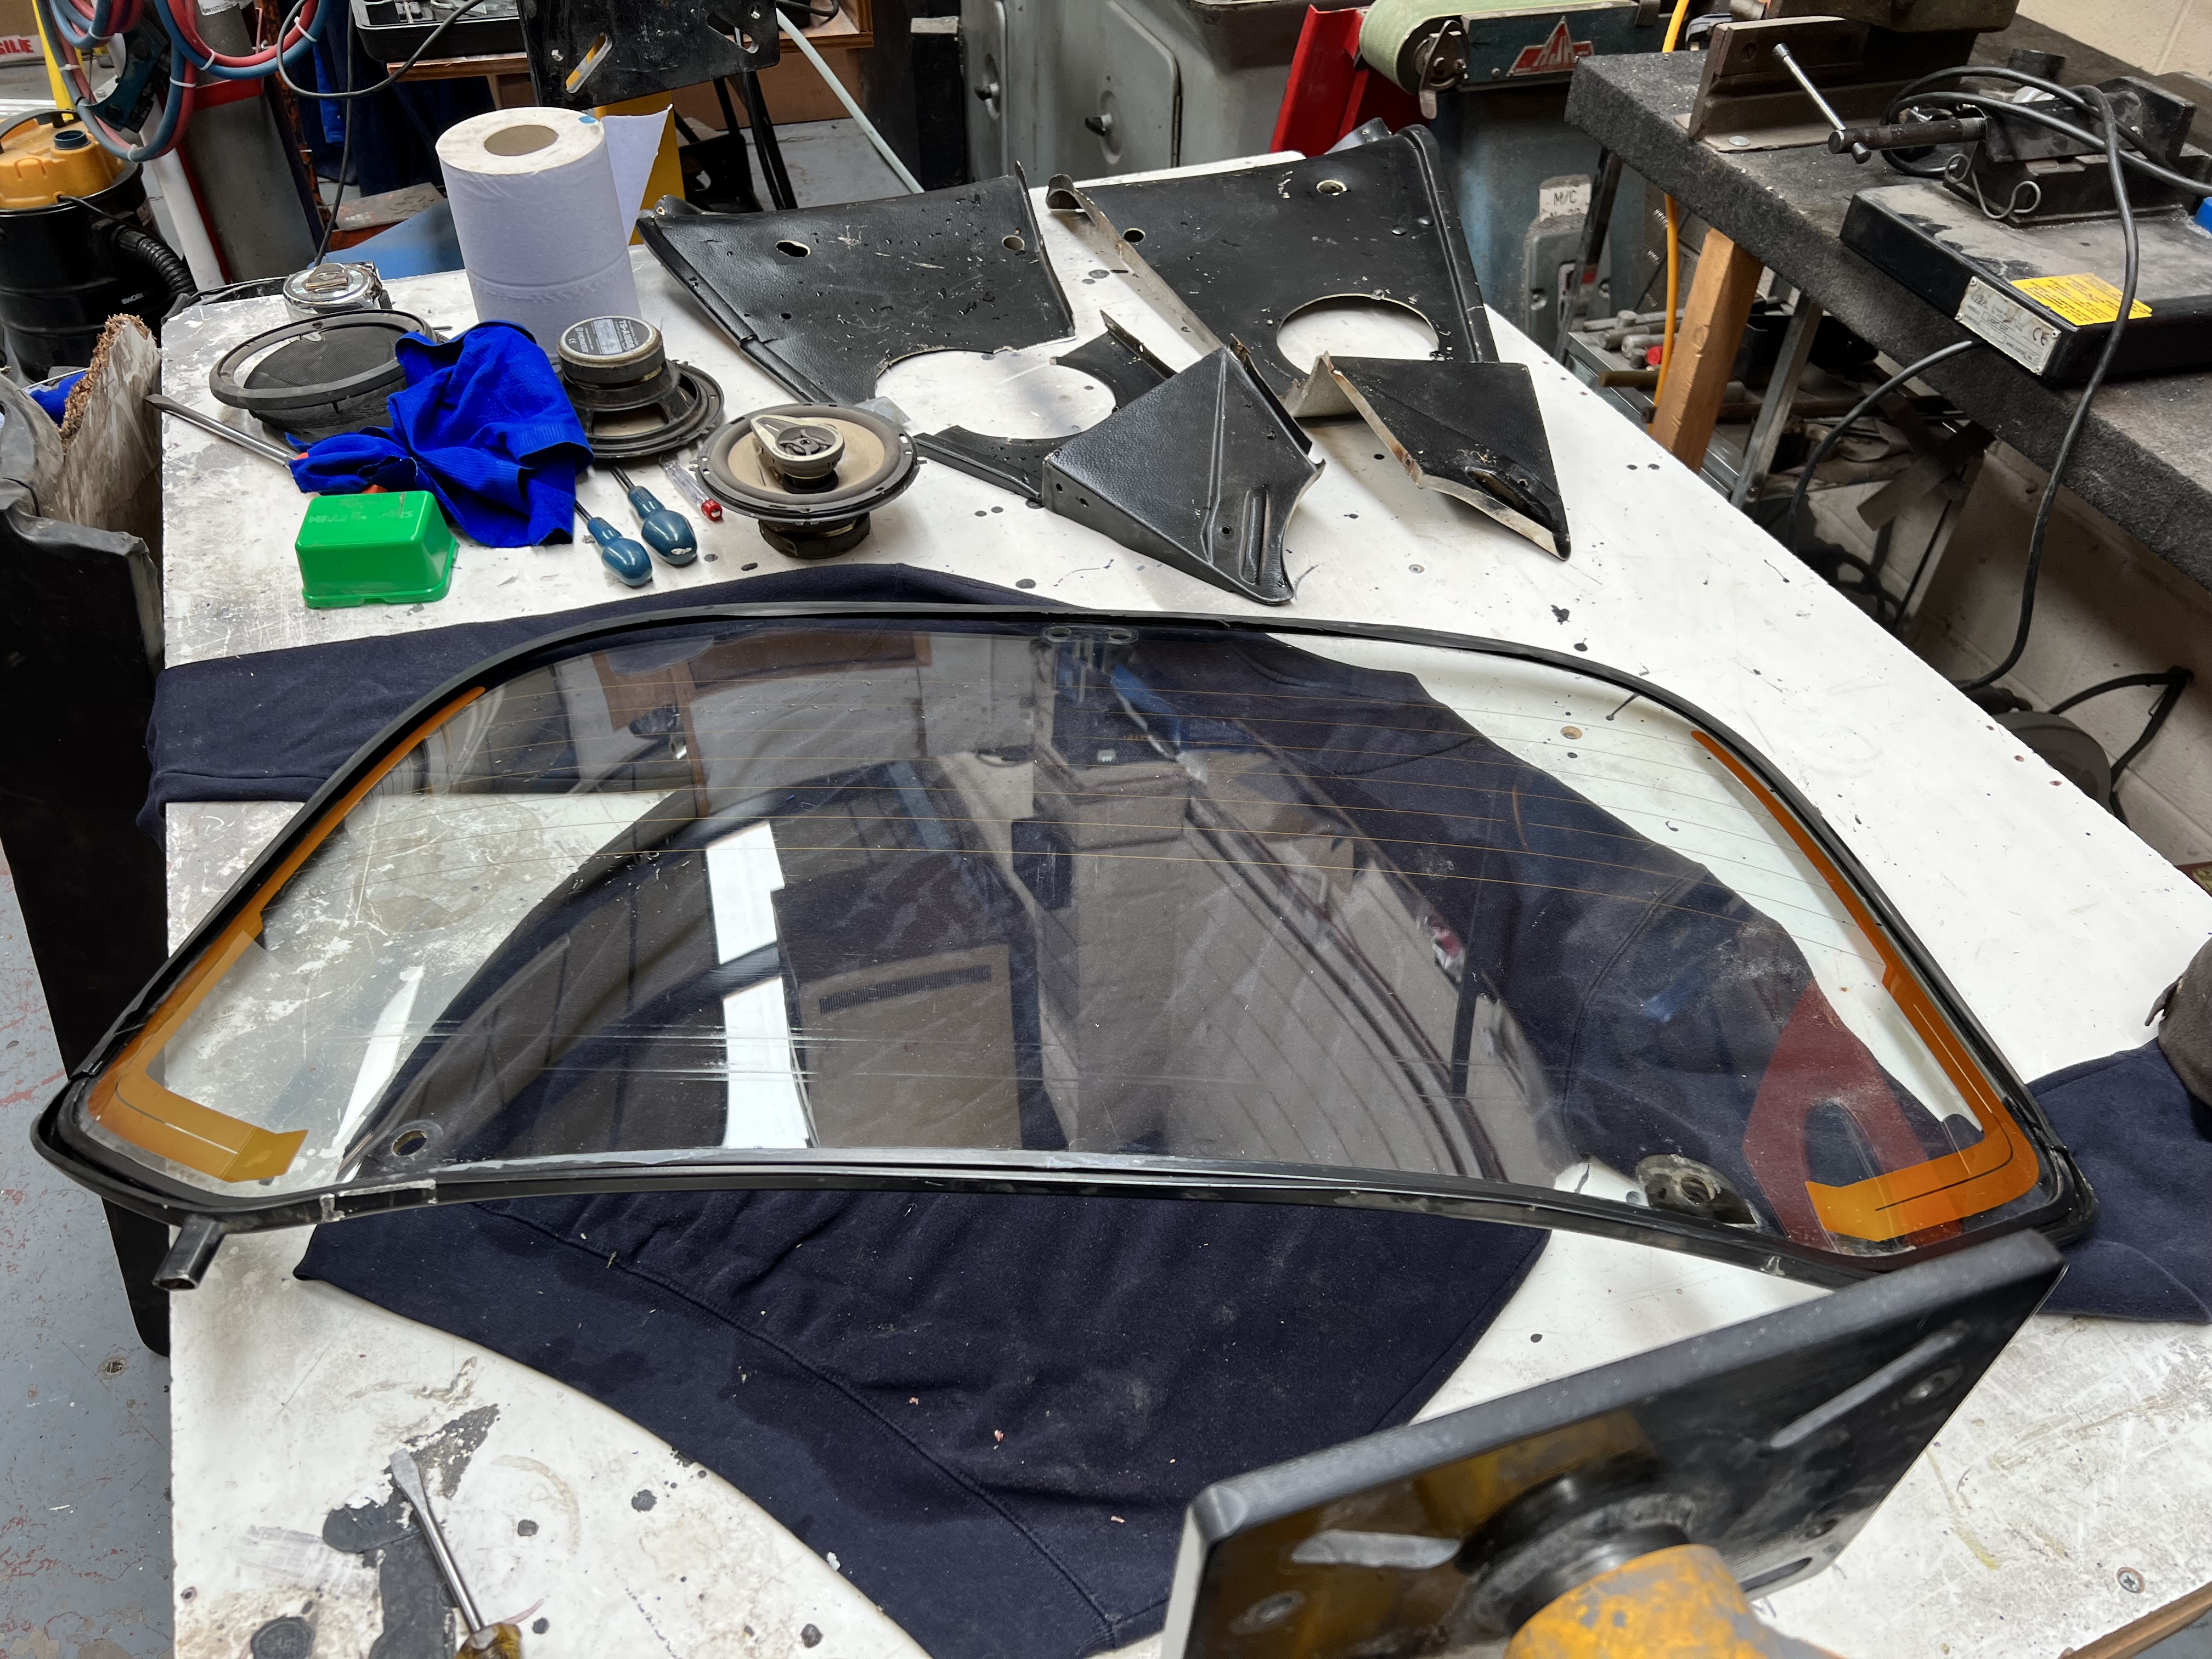

The hinges were great and just needed cleaning and painting, but the mountings that bolt the hinges to the glass were missing and had been replaced by rusty nuts and bolts. I decided to make new ones and set about the task on the lathe. So with two new aluminium mushrooms, new rubbers and stainless screws on the inside, the hinges could be mounted on the glass.


I went for the second option and made a new pivot leg from thick aluminium and the drilled and tapped the body and used cap screws to fix it back together.

Well, at last, the rear window could be fitted and wired and guess what? The heated screen didn't work. So I had to remove it again and investigate the element. It turned out to have 14 breaks in it. I went on the internet and searched for a repair kit, which involves conductive paint. I bought 2 kits and set about the repair. Each break was located and painted and then left 24 hours to dry and then re-tested. I had to do this three times before finally having all elements working and being able to re-fit the window.
Well at this point I just wanted to add a bit of trim. Now I had the original Karmann Ghia badge, but it had a really deep groove scored into it in the black area. So I set about filling the groove with black gloss paint. Day after day I added more paint and left it to dry until it was finally filled. I then rubbed it down until smooth and then polished it. And here is the finished result.

Copyright 15.10.23 all rights reserved.
My Other Blogs:
1961 BSA A10 Super Rocket Motorcycle:
http://60sclassicmotorbikes.blogspot.com/2012/07/before.html
1961 Ariel Arrow Super Sport Motorcycle :
http://60sclassicmotorbikes.blogspot.com/2014/01/1961-aerial-golden-arrow-restoration.html
Miniature Land Rover Defender:
http://miniaturelandrover.blogspot.com/2016/02/1-miniature-land-rover-defender-idea.html?view=timeslide
Motorcycle Trailers / Caravans:
http://motorcycletrailersandcaravans.blogspot.com/2018/01/1-motorcycle-trailers-problem.html