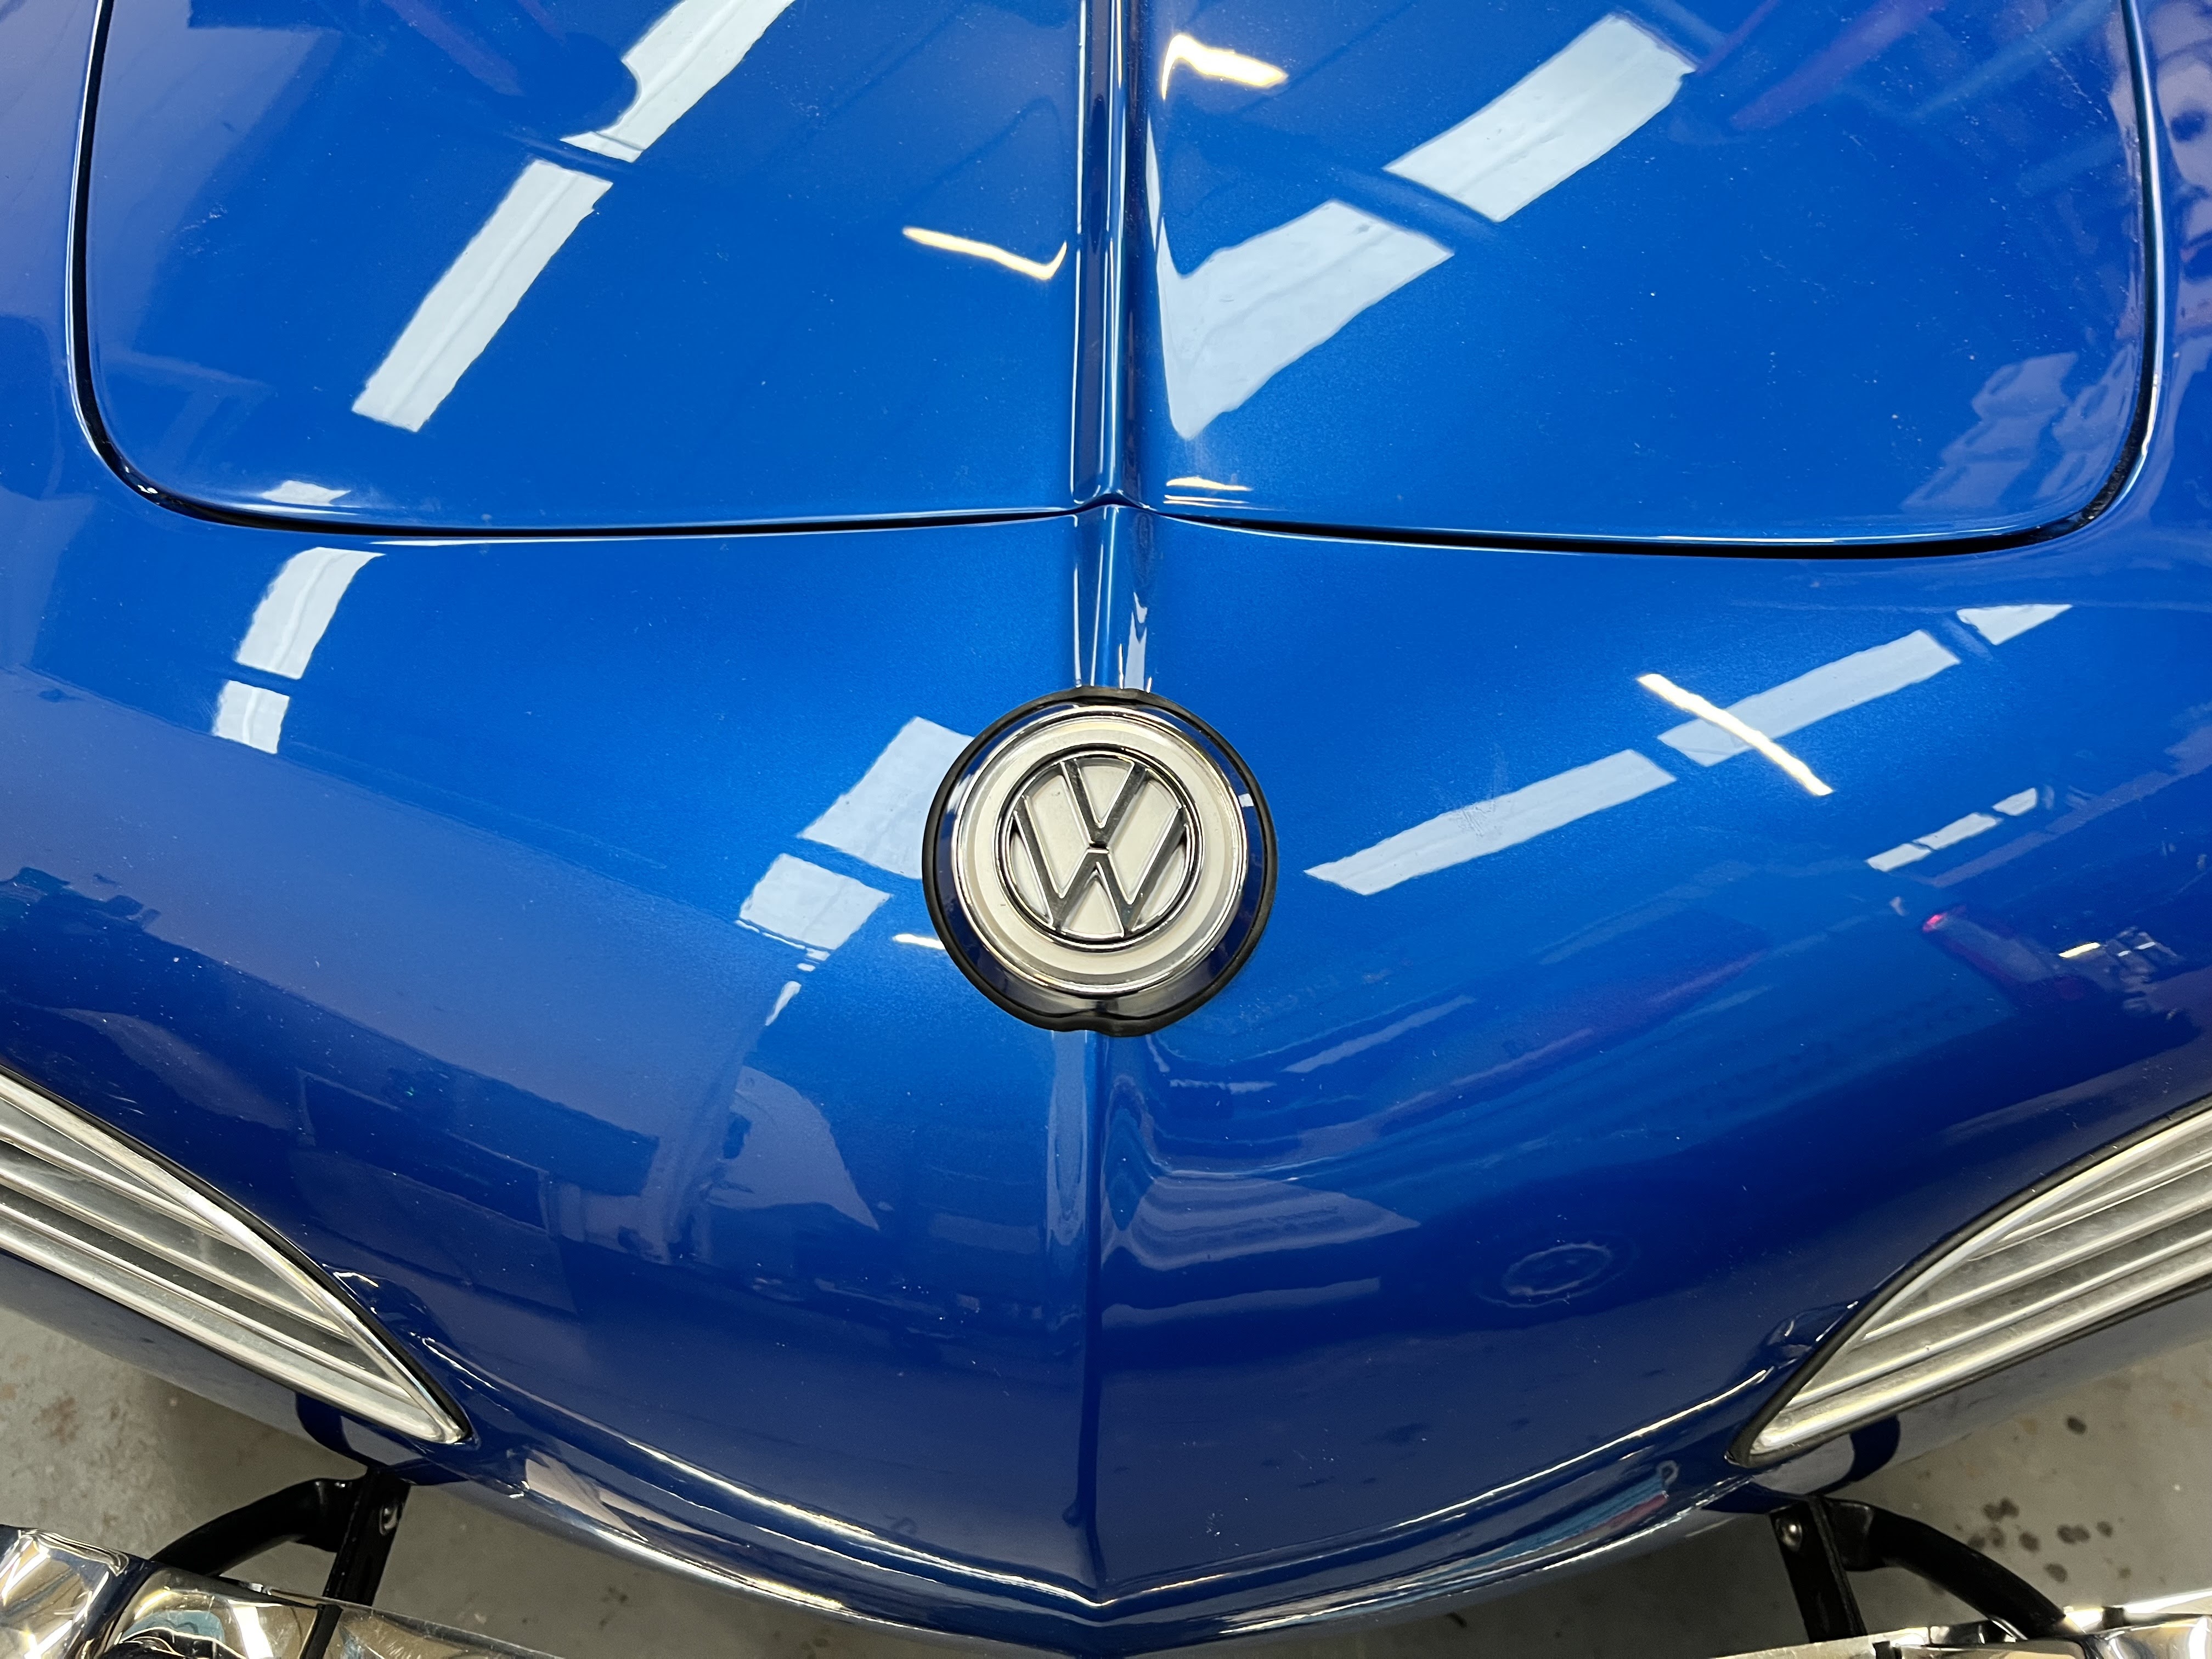

So now I could fit and wire the number 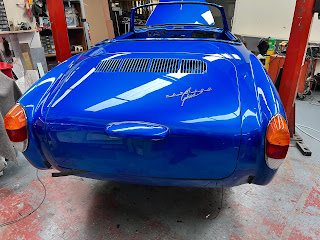 plate light with two new lenses and lamps and I couldn't resist fitting the Karmann Ghia badge on the engine compartment lid and it does look nice. So on to the rear lights. Both of the original lenses were cracked, so I had no choice but to buy new ones. The reflectors, again cleaned up nicely with the new paint-on chrome. However, when it came to fitting the lenses to the reflectors, I found that the lenses did not seat properly on the seals. They bottomed in the centre near the screws leaving an air gap at the top and bottom, which would let in the rain. So I had to set about the new lenses with a Dremel reshaping them until they fit correctly.

I this point I decided to fit the steering column to allow the wiring from the indicator arm to be connected. I had to dismantle the collapsible section of the column in order to pass the top 

section of the column up the tube, as it is too long once assembled to get up the tube without hitting the bodywork. However, once I figured out how it went together it wasn't too difficult and, once in place, the indicator switch module could be fitted.


section of the column up the tube, as it is too long once assembled to get up the tube without hitting the bodywork. However, once I figured out how it went together it wasn't too difficult and, once in place, the indicator switch module could be fitted.
Now on to the front indicators. I managed to  pick up new lenses, rubbers and the right hand reflector. But no one had a left hand reflector. So I had to revert to renovating the old reflector including new mounting studs and again chrome painting the reflectors. Fitting the right indicator was easy and it went on with no trouble. But the left hand one was a different story. Having had replacement metalwork in that area the reflector in it's rubber just would not go in the hole and in the end I had to cut away metalwork until it would fit. That lens and reflector was on and off 8 times but eventually it fit.

Now for the bumpers. As you read earlier,  I had already assembled and fitted them, before the car was painted. So now the trick was to fit them again without scratching the nice new paintwork. I first covered the corners of the wings with duct tape. I then loosened all the the bolts holding the sections of the bumpers together and then passed the two bumper irons through new rubbers and into the mountings in the wheel well and bolted them into place. Now for the difficult bit, I had to fit the new aluminium spacers on the ends of the bumper blades along with rubber washers between them and the bodywork. Once they were all in place, I could then tighten all of the fixing bolts and then remove the protective tape.


Finally it's time to fit the  new headlights. It took a long time to renovate the baskets that hold the sealed beam units. Each had to be disassembled and resprayed and fitted with new springs, so that the headlights could be adjusted correctly. Then with all new rubber seals and the rims re-polished, the headlights could be fitted. All of these lights could now be wired back to the fuse box. When fitting the fuse box I found that the plastic fixing tabs were broken and it would not hold in place and so I spent a couple of hours making new secure mountings. It's going to be a long slow process wiring the car. I've downloaded several wiring diagrams but as I've decided not to include the diagnostic socket, (Which does virtually nothing), none of the diagrams exactly match the wiring. But I'll get there.

On the next blog I start wiring the dash board.
Copyright 15.10.23 all rights reserved.
My Other Blogs:
1961 BSA A10 Super Rocket Motorcycle:
http://60sclassicmotorbikes.blogspot.com/2012/07/before.html
1961 Ariel Arrow Super Sport Motorcycle :
http://60sclassicmotorbikes.blogspot.com/2014/01/1961-aerial-golden-arrow-restoration.html
Miniature Land Rover Defender:
http://miniaturelandrover.blogspot.com/2016/02/1-miniature-land-rover-defender-idea.html?view=timeslide
Motorcycle Trailers / Caravans:
http://motorcycletrailersandcaravans.blogspot.com/2018/01/1-motorcycle-trailers-problem.html