

Time to look at the front axle and like most projects I started with great enthusiasm. So I stripped the front axle of all the brakes and suspension parts and removed the axle beam from the chassis.

My next job was to remove 50 years of road dirt from the axle beam which took a very long time and then finally give the beam a coat of rust converter and then chassis black.

It was not until I had done all of this work, and laid the axle down on the bench that I noticed that the axle appeared to be BENT!
 Careful measurement confirmed that the ends were indeed bent back from the centre by about 5mm. Disaster! I immediately went on the internet to see if it was a big problem. The answer was that the axle must be straight. The good news was that the internet said that, with a good press, it was possible to straighten it.
So I took the axle to my friends workshop and we carefully supported the ends of the axle on wood and then applied pressure to the centre struts of the axle, via another piece of wood in his press.
After a fair bit of pressure, the axle tubes straightened and we checked the tubes with a straight edge to ensure they were now level.

We were feeling pretty pleased with ourselves that we had achieved until I got the axle back to my workshop and I happened to turn the axle over and spotted what had happened to the axle end caps.
They had both crushed, under the weight of the press and were now beyond use. All of that work was now wasted and I had to find a replacement front axle.
That was not as easy as I thought, as no standard replacement axles were available, even in the USA.
So, in the end, I had to settle for an adjustable front axle. It's basically the same but the centre clamp points for the torsion bars are adjustable, allowing you to lower the suspension, if desired. Now as I don't want to lower my suspension these adjusters will just have to be set at the top (standard position). But there it is, fitted to the chassis and now I've got to rebuild it.

Stripping the old axle revealed another problem. Two of the leafs in the torsion bars were broken in the top tube. I doubt if I would have ever found that had the axle not been replaced. So now I had to order new torsion bars.

Along with the new the new torsion bars, I ordered all new ball joints and track rod ends. Now here comes the next mistake. The trailing arms cleaned up beautifully and I took them, along with the new ball joints back to my friend's workshop to have the old ball joint pressed out and the new ones pressed in. It took 8 tons of pressure to do this.

I took them back to my workshop and fitted them onto the new axle along with the renovated stub axles and new shock absorbers.
I wasn't over concerned, as everything was new, but the ball joints did seem very tight and so, just to be sure, I went back on the internet only to discover another problem.
The ball joints have notches in their caps and, according to the web, these notches have to be orientated front to back on the car. I had noticed the notches but had not checked what they were for. Now I had to go back to the car and check where the notches had finish up after we had pressed them in.
 As luck would have it, three of the four ball joints were in the right orientation (Pure luck) but the upper right was 90 degrees out. So I had to order another ball joint and strip that side again, take it back to my friend, and replace the ball joint again. I didn't want to chance refitting the first one again in case two lots of pressing had damaged it.
It was about time I had a bit of luck and that came with the steering box. I fully expected to have to overhaul it. However inspection revealed absolutely no wear and no play. So it was just a case of cleaning it up and fitting it to the axle. The new axle has no mounting lugs, so I've had to estimate it's position and I'll have to adjust that once the body and steering column are back in place.
 Time to clean up and refit the anti-roll bar with all new rubbers and clamps. No great problems there in fact I think it fits better that it did originally.
What was difficult was refitting the grease nipples, which would not cut into the holes in the new axle and in the end, I finished up fitting new ones. I also treated myself to a new , air powered, grease gun and I've been pumping grease into this new axle for some time now and still haven't managed to fill the new empty tubes yet. I now need to buy more grease.

It's now time to renovate the track rods and replace the track rod ends. No great problems here.

And complete with a new steering damper they were soon fitted.

Now, at last I could fit the brake back plates and the new discs, complete with all new wheel bearings and oil seals.
One problem, after fitting the discs was that the grease caps, that came with the discs didn't fit over the bearing clamp nut and the old caps are not fit to use. So I've had to put a new pair on back order.

Now it had been my intention to paint the new brake caliper "Red". However, when I opened the boxes, I found, to my surprise, that the new calipers were chrome plated. Now I don't know how good the chrome is but I felt it was worth leaving them as they are and see how they weather. I have already bought the red caliper paint, so if they do begin to rust I can always paint them later.
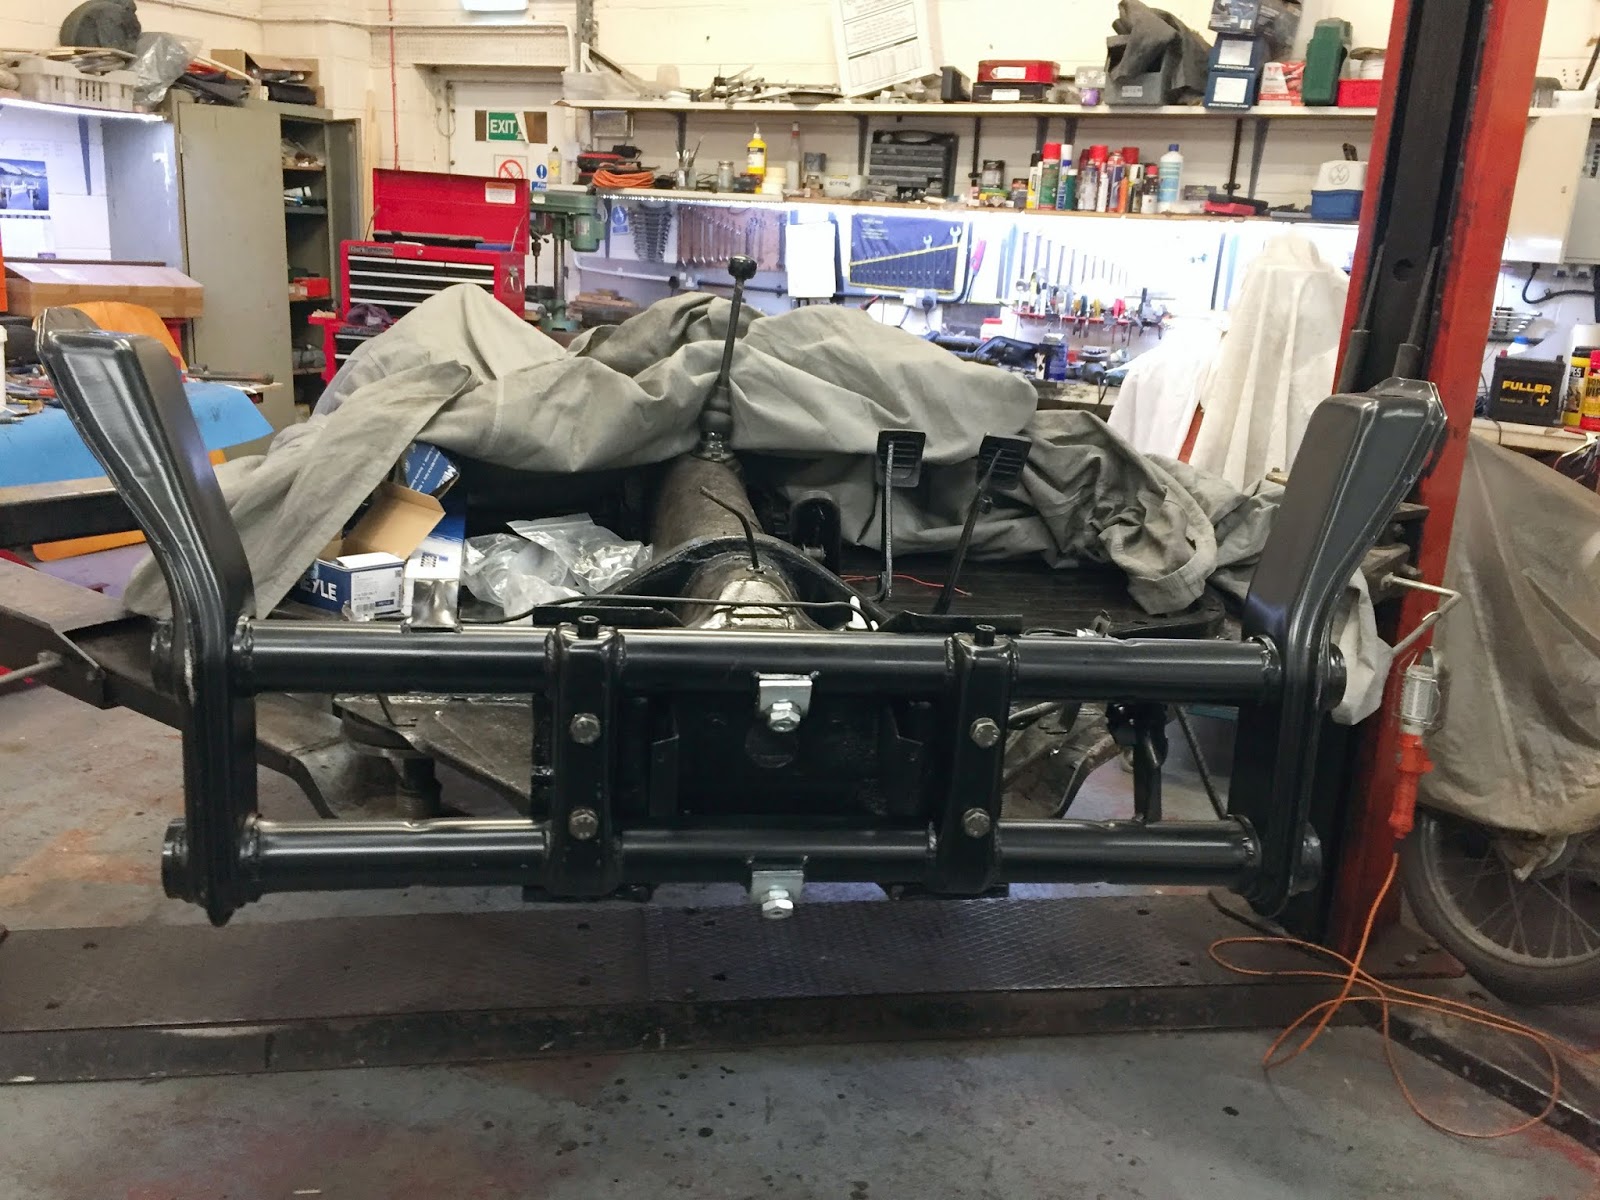
My next job is to replace the rear suspension, torsion bar and cap rubbers, that I have ruined, and then I'm going to reinstall the gearbox, that has already been overhauled.
You can contact me on hopcroftscoot@gmail.com
Copyright 21.03.20 all rights reserved.
My Other Blogs:
1961 BSA A10 Super Rocket Motorcycle:
http://60sclassicmotorbikes.blogspot.co.uk/2012/07/before.html
1961 Ariel Arrow Super Sport Motorcycle :
http://60sclassicmotorbikes.blogspot.co.uk/2014/01/1961-aerial-golden-arrow-restoration.html
Miniature Land Rover Defender:
http://miniaturelandrover.blogspot.co.uk/2016/02/1-miniature-land-rover-defender-idea.html?view=timeslide
Motorcycle Trailers / Caravans:
http://motorcycletrailersandcaravans.blogspot.co.uk/2018/01/1-motorcycle-trailers-problem.html


