Saturday 5 June 2021

20. Karmann Ghia Restoration - Do Things Fit?


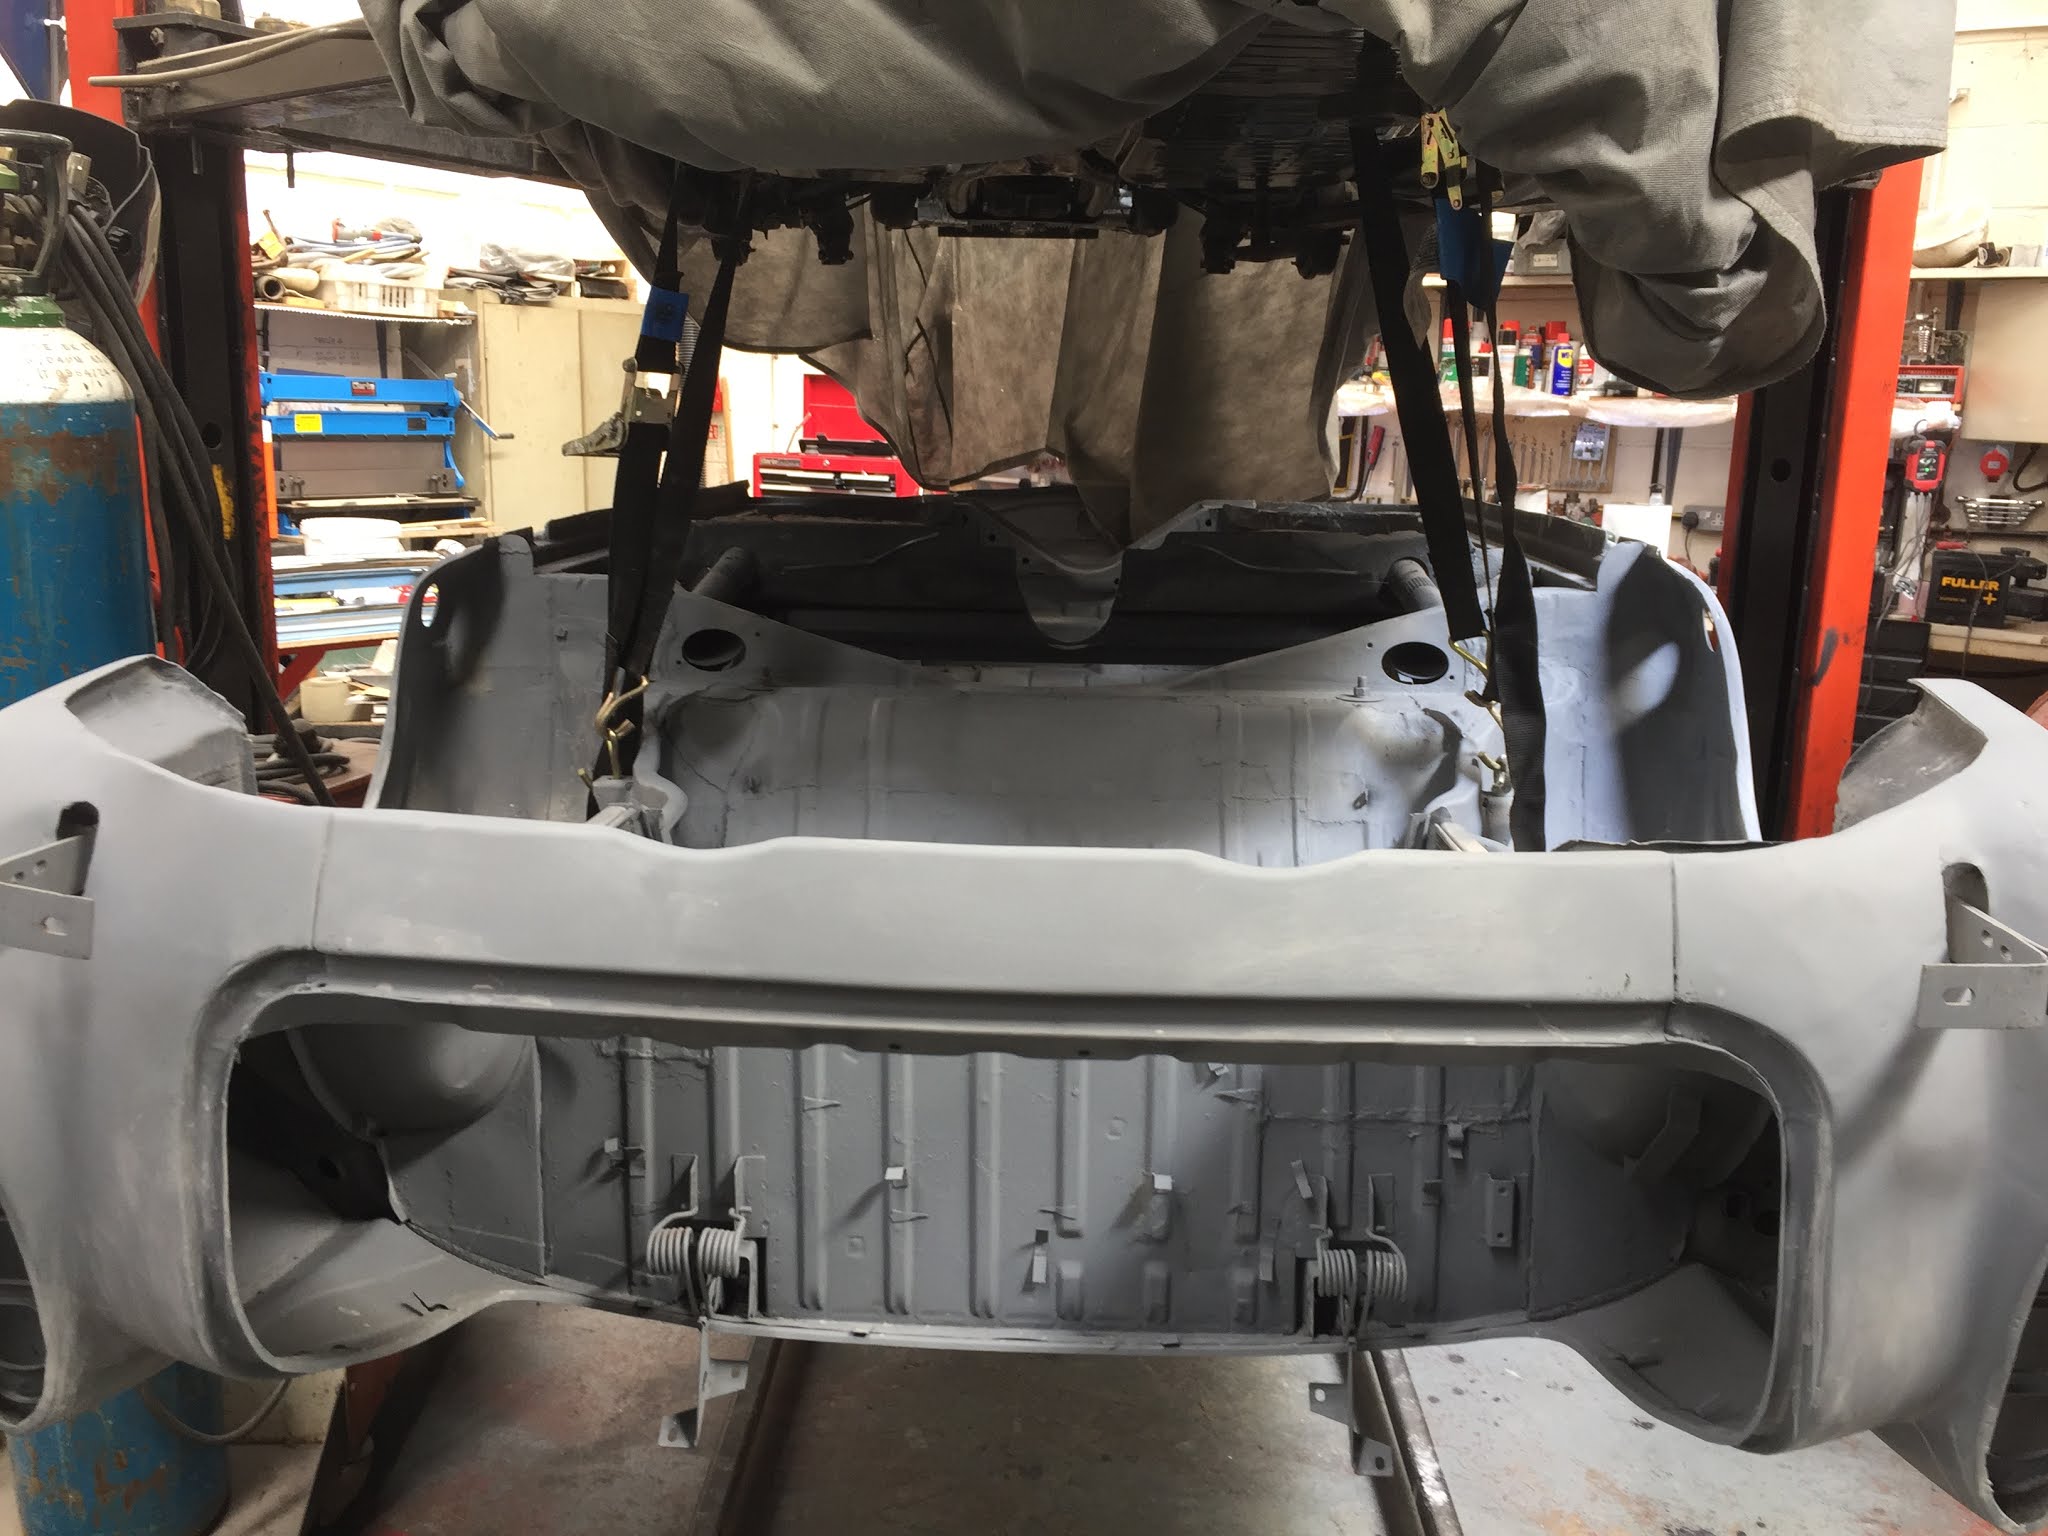
I've now reached the stage where I need to check if things fit, on my Karmann Ghia restoration, before the body goes off for painting. So the first thing to take a look at is the bumpers. Now I had already bought replacement, stainless steel, bumpers and whilst waiting for my friend to do more welding, I had successfully assembled them and been saving them for this moment. 

So, starting at the back of the car, the first problem to overcome was that the bumper mountings were currently being used to support the body on the rotating dolly. The answer was to hang the back of the body on ratchet straps from the hoist. The dolly could then be removed leaving the bumper mounting brackets clear.  So, full of anticipation, I took the new rear bumper and offered it up to the body, only to find that it would not fit around the car body. The bumper was, in fact, about 3cm too narrow. The ends of the bumper, that wrap around the body, just hit the body and would not pass along the sides of the car. 


Now these bumpers have no adjustment, so this left me scratching my head for a while before I decided to make them adjustable by cutting slots in the fixings behind the overriders, where they can't be seen. This involved converting the square holes into slots using a Dremel and small cutting discs. During the process of cutting these slots in both bumpers I got through 24 miniature cutting discs. 


Once cut, I could then extend the bumpers until they fit around the car body. As you can see, each side needed extending about 1cm. 

Once the bumper was extended I could then look at the problem of fixing the front ends of the bumper to the body. Now originally this was achieved by a bolt passing through the body, under the rear wing, then through a spacer and into a captive nut on the bumper. Now this presented another problem as the hole on one side had been plated and on the other side the wing had been replaced and there was no hole in the new part. So how to get the holes in the right places and how to get them level with no way of simply measuring the position.

After studying the problem I noticed that on the side that had been plated, I could still make out where the hole used to be. So I used a laser on a tripod to level the car on the hanging straps and then set the laser on the position of the original mounting hole. After that I moved the tripod to the other side and pointed the laser at the new wing and that gave me the correct position for the hole on that side. Now I could drill the two holes and mount the bumper on its brackets. Now, leaving the adjustable slot bolts loose, I could move the bumper ends until they lined up with the holes and, after making some new aluminium spacers, bolt the ends of the bumper to the body.

The story doesn't end here, because the rear bumper has two more mountings that fix behind the overriders directly to captive nuts on the body. Or at least they would if the fixings were there. But I had replaced the rear valance. The new valance had no fixings or holes and the support brackets had been cut off the old engine trays. Fortunately I had saved them. So I had to carefully cut the old brackets off the pieces of old engine tray then cleaned and rustproofed them and then welded new captive nuts into them. The next job was to get them in the right places. 

This was achieved by marking the holes through the bumper brackets onto the rear valance and then removing the bumper from the body again. I could then drill the holes in the valence and then offer the renovated brackets and bolt them in place through the new holes. I could then weld the brackets in place and paint them and the Bumper could then go back on and it finally fits.

Now all I had to do was do it all over again for the front bumper, which of course did not fit either. But after cutting slots, drilling holes and making more spacers, the front bumper fits too. I think four days to fit two bumpers must be a record?

So one more job on this episode was to make and fit the support platform that is under the rear seat. Now I had some material left from the panel that I bought to replace the rear bulkhead and it already had pressing ribs in it to give it strength. After measuring the panel I found that I just had enough and so confidently measured and cut the piece out that I needed. I offered it in place and found that it fit perfectly. So now I had to bend it. I took it to my press only to find that it was too long to fit in the press. So I had to cut my perfect panel in half so that I could bend the front fold over on it. 

Well I soon discovered that bending a panel with pressing ribs in it on a small manual press is not easy, but eventually I managed to bend the two halves and then weld them into place in the body and paint them. 

So there it is in place. 

My next job is to repair the two kickboards under the rear seat, which have bad rot that needs cutting out and replacing. More about that on the next episode. 


Copyright 05.06.21 all rights reserved.

My Other Blogs:
1961 BSA A10 Super Rocket Motorcycle:
http://60sclassicmotorbikes.blogspot.com/2012/07/before.html

1961 Ariel Arrow Super Sport Motorcycle :
http://60sclassicmotorbikes.blogspot.com/2014/01/1961-aerial-golden-arrow-restoration.html

Miniature Land Rover Defender:
http://miniaturelandrover.blogspot.com/2016/02/1-miniature-land-rover-defender-idea.html?view=timeslide

Motorcycle Trailers / Caravans:
http://motorcycletrailersandcaravans.blogspot.com/2018/01/1-motorcycle-trailers-problem.html


Tuesday 30 March 2021

19. Karmann Ghia Restoration - Body Prep


Well it's time for hours and hours of body preparation and some final welding.  So starting at the front of my Karman Ghia Convertible I began the slow process of rubbing down and filling. I decided to slowly work my way around the car and started with the front valance. Because this car has had so many replacement panels, blending in the joints between old and new panels required multiple layers of filler and shaping then more filler etc.

But slowly the car began to turn from orange to grey. One of the biggest problems was to get the two rear wings the same shape. As I mentioned before, this car had had accident damage on the  left side so when I stood at the back of the car and looked at the two rear wings, it was obvious that the right wing had a good bulbus curve on it and that the left rear wing was much flatter. Now the problem was how to replicate the curve on the right wing onto the left.


To achieve this I bought a long 20" Shape Gauge and used it to capture the shape of the right wing and then transferred the gauge over to the left wing and built up the filler over multiple layers until the gauge fitted over the curve the same on both wings.


The next big problem was the bulkhead panels behind the back seat and over the gearbox. After very long consideration of the possibilities of making patches for this panel, which was really badly perforated, I finally decided to buy a new panel and cut the areas out that needed replacing.

So out came the angle grinder again and large pieces of the new panel were grafted in.


You will notice that the step in front of the replaced panel, that supports the seat, is also in a bad way. So the next step was to cut this out too and fabricate a new one.

In recent weeks I have been approaching various paint sprayers with a view to finally getting the finished coat on the body. I have been amazed at the enormous differences between quotes, but I think that I have finally decided upon the right supplier.


One final bit is that my tyres have finally arrived and I was able to get them fitted to the wheels, but fitting the wheels is a long way away at the moment.